If you’ve ever felt like editing a livestream takes longer than the livestream itself — I hear you. I used to spend hours manually clipping, transcribing, and repurposing recordings. Today I use a compact, repeatable workflow built around three AI-forward tools: Castmagic, Riverside FM, and Minvo (or Opus Clips), plus a few production habits that let me repurpose a 45–60 minute livestream into show notes, chapters, social clips, newsletter content, and podcast episodes in roughly an hour.
Key takeaways (read first)
Keep it simple: You don’t need the most expensive editor to deliver professional repurposed content. Light editing + AI prompts = huge time savings.
Record with repurposing in mind: Capture both a “pretty” stream and clean isolated ISOs so your clipping tools have clean footage to work with.
Use a three-tool stack: Castmagic for text-based repurposing and prompts, Riverside FM for light editing and show notes, and Minvo Pro/Opus Clips for automatic clip creation and social scheduling.
Name everything consistently: A naming convention (season/episode) across Google Drive, Castmagic, Riverside, and your clipper of choice speeds up retrieval and delegation.
Prompt intentionally: When you upload footage to clip tools, include a tailored prompt describing your audience, clip length, and tone for far better results.
Why this matters
I started livestreaming because it was easier and cheaper than producing highly edited videos. What I didn’t expect was that, as soon as I committed to consistency, I’d get overwhelmed with the repurposing workload. That’s when I built a workflow that favors speed and quality over complexity. The goal wasn’t to replace high-end editors or to pretend every clip would be viral — it was to consistently deliver professional content without burning hundreds of hours or hiring a full-time team.
Here’s what I’ll walk you through: how I record, how I use each tool, exact prompts and naming conventions I rely on, the logic behind why I isolate cameras (ISO), and how to get from livestream to scheduled social posts, show notes, and a podcast-ready file in under an hour.
My three-tool tech stack and why I chose it
For coaches and other service providers who sell expertise, time is your most valuable asset. My stack focuses on saving time and giving me content that is ready to publish or easy to tweak. The three tools I use are:
Castmagic — text-first repurposing: summaries, newsletter drafts, podcast descriptions, show notes, titles, keywords, and custom prompts.
Riverside FM — light editing and multi-track handling (trim intro/outro, remove filler, magic audio, generate show notes and chapters).
Minvo Pro (and sometimes Opus Clip) — AI-driven clip creation, b-roll, simple motion edits, pulse effects for shorts, and scheduling features.
Why these instead of Descript or Premiere? Descript is powerful but keeps adding features and evolving — it’s a deeper tool for serious editing (level 2). Premiere and DaVinci Resolve are even deeper (level 3) and require a big time investment. My approach is “level 1” editing: fast, repeatable, and professional enough for consistent audience growth.
Where Ecamm Live and ISOs fit in
I stream with Ecamm Live, and here’s an important production habit: I record both the “decorated” stream (frames, lower-thirds, guest boxes) and separate ISO (isolated) camera tracks — clean camera A, camera B, etc. Those ISOs get uploaded to the clipping tools so the output isn’t cluttered with graphics and overlays.
Recording ISOs increases storage needs, but it pays back tenfold when you clip and repurpose. Clean footage = cleaner clips = less manual cleanup and faster turnaround.
The workflow — step-by-step
Below is my repeatable process that I use the day of or night of a livestream. I’ll include timing estimates so you can see how efficient it becomes once you practice it.
Pre-show (planning and naming)
Time: 15–30 minutes (one-time per episode)
Decide season and episode number. I use a simple naming convention: StreamLikeABoss_s##_e### (e.g., s08_e003). Keep this consistent across Google Drive, Cast Magic, Riverside, Minvo, and PodPage.
Create folders on Google Drive: /LiveStreams/s08/e003/ and put expected assets there (thumbnail drafts, scripts, guest bios).
Prepare a short run-sheet so you know where engagement cues and music happen (useful later for quick trims).
Organization upfront is the single biggest lever for consistency. When everything is named the same, your tools and team can find files without asking you a million questions.
During the livestream (record with repurposing in mind)
Time: recording time
Stream the “pretty” program out to your audience (Ecamm frame, overlays, etc.).
Record ISOs simultaneously: camera A (main talking head), camera B (alternate angle), separate audio tracks if possible.
Mention a few clear, short “soundbite” moments you want clipped. Saying “repeat that again in one sentence” helps the AI find high-value clips.
When you record a mix of program and ISOs you get both the audience-friendly livestream and the clean sources for post-production.
Immediately after the show: quick export/upload (10–15 minutes)
Time: 10–15 minutes depending on upload speed
Export the ISO camera files and the full program file from Ecamm and move them into the episode Drive folder.
Upload the edited program to Riverside for light editing (or upload the ISO into Minvo for clipping first if you prefer clips before text repurposing).
Upload the same file to Cast Magic (or wait until the Riverside edited file is exported — both approaches work; I’ll explain pros/cons below).
Step 1: Riverside FM — lightweight editing and export (15–30 minutes)
Why I use Riverside: Riverside lets me make quick trims (cut intro/outro, remove long greeting segments), improves audio with “magic audio,” removes filler words, and can export show notes and chapters. It also supports separate audio tracks for each speaker which is huge when guests are uneven.
Upload program or ISO file to Riverside.
Use the text-based editor to delete long engagement sections (greetings, extended Q&A that isn’t relevant to replay watchers) and trim front/back music bars — the waveform shows where music sits so cuts are fast.
Run Magic Audio if any portion is too quiet or has inconsistent levels.
Choose “Export” and generate the edited MP4 and WAV for podcast use.
Use Riverside’s show-notes generator to pull a first-pass summary, titles, takeaways, and chapters (I almost always move that into Cast Magic for refinement).
Riverside alone can be a one-stop solution if you want to keep your workflow very simple. It’s robust enough to handle podcast distribution and light edits, and it’ll save you many hours compared to manual editing.
Step 2: Castmagic — text-first repurposing and prompt-driven content (5–10 minutes)
Why I use Castmagic: This is my headless repurposing engine. Castmagic turns a recording into summaries, newsletter drafts, SEO-friendly titles, chapter markers, social post drafts, and more — all based on custom prompts that I set up once and reuse for every episode.
Upload your edited Riverside MP4 into the Castmagic workspace you’ve pre-configured for livestreams.
Run your pre-built recurring prompts (I have prompts for: Substack newsletter draft, YouTube description, podcast summary, SEO keywords, and 3 tweet-length snippets).
Edit the generated content lightly — usually it’s 80% ready and saves me a lot of typing.
Copy/paste the newsletter into Substack draft or your email platform when ready; export show notes to your podcast host or website.
Castmagic shines because you can be specific. My prompts tell it the audience (coaches and service providers), the tone (conversational, helpful, concise), and the formats I need (newsletter, show notes, tweet, LinkedIn post). This yields far better output than a generic “summarize this” command.
Step 3: MinvoPro (or Opus Clip) — clip generation and scheduling (20–40 minutes background processing)
Why I use MinvoPro: This is my clipping engine. Upload an ISO or the edited program, give the AI a prompt describing my target audience and clip length, and it returns dozens of clip candidates. I then pick the best, polish them quickly (add a “pulse” zoom, AI b-roll if needed, and a soundtrack), and schedule them out. Opus Clip is a great alternative and sometimes my “side piece.”
Critical tip: when uploading to Minvo/Opus, don’t just click “auto.” Add a prompt. Tell the tool:
“Create 30 clips, 60 seconds or less. Audience: coaches and service providers. Make clips actionable, include one clear takeaway, and favor moments where the speaker uses a hook + example structure. Tone: friendly, professional.”
That prompt dramatically improves clip relevance. After the tool returns candidates, I manually review high-scoring clips, apply a quick branding overlay, and export the short files. The platform also offers scheduling to Facebook, YouTube, Instagram, and LinkedIn — which I use to push content over the following week.
Optional: PodPage — central content hub and podcast publishing
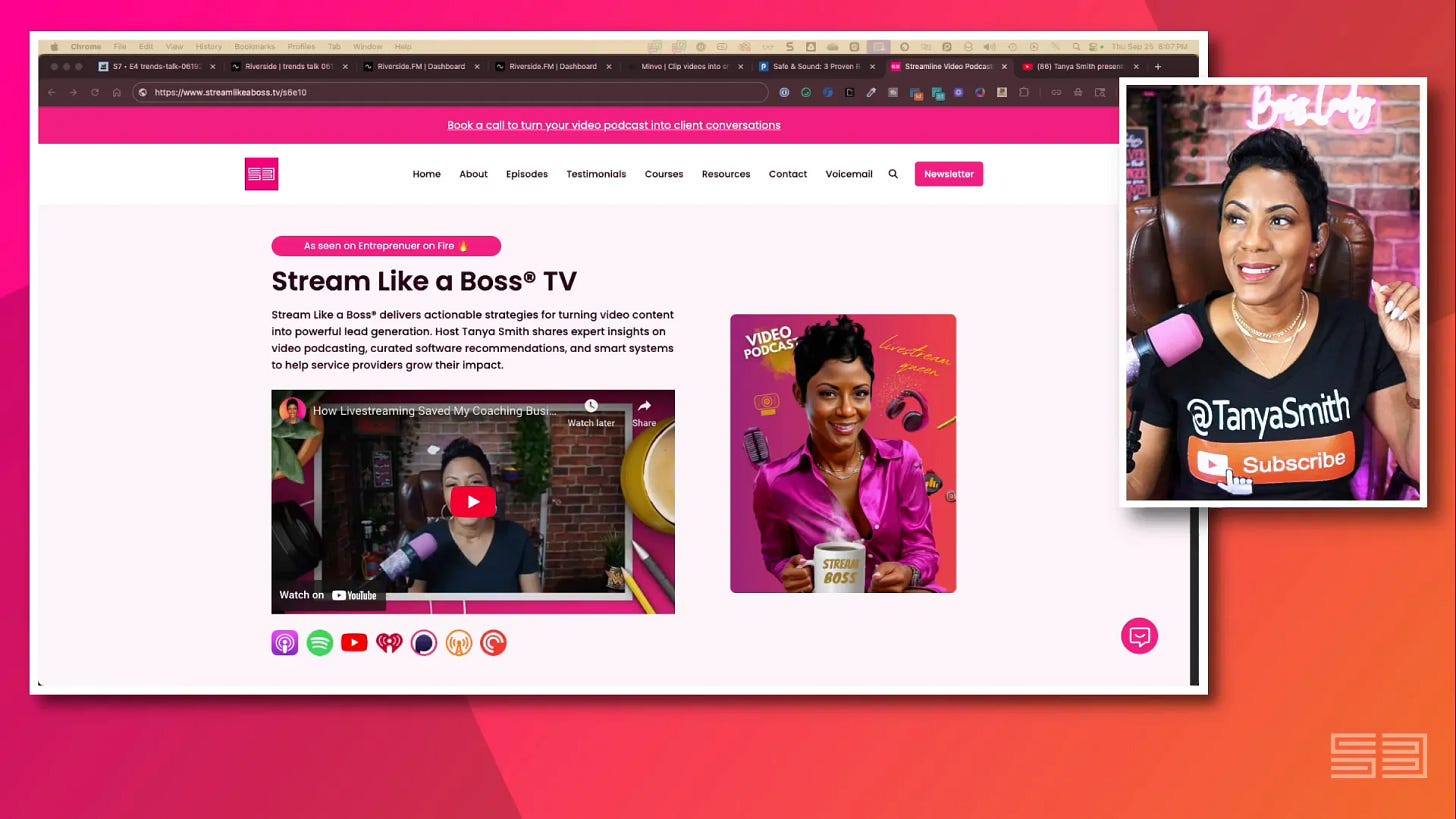
As a bonus, I use PodPage as the central place to host the repurposed episode on my website. PodPage pulls episode metadata (season/episode naming) and makes pages like streamlikeaboss.tv/s6e10 that take visitors directly to a specific episode. That shortcut is pure workflow candy when I’m linking from social or email.
How the pieces fit together (time and output estimate)
Here’s a conservative estimate for a 60-minute livestream using this stack, once you’re comfortable with the process:
Export & upload ISOs/program to Drive: 10–15 minutes
Riverside: edit front/back/magic audio and export: 15–20 minutes (active time ~10)
Cast Magic: upload edited MP4 and run recurring prompts: 5–10 minutes
MinvoPro: upload ISO & generate clips (processing background time 10–30 minutes), manual review/polish: 15–30 minutes
Schedule clips via Minvo/Opus or calendar tool: 10–20 minutes
With practice, you can get this to under an hour of active editing for a 60-minute show, plus background processing time. That’s a dramatic reduction from the 3–10 hours I used to spend doing the same tasks manually.
Organization & naming conventions (my secret weapon)
Consistency in naming is the thing that turns this stack from “nice” to “scalable.” My naming approach includes season and episode numbers and is used across Google Drive, Castmagic, Riverside, and Minvo/Opus. That makes delegation trivial and automations predictable.
Example naming convention:
Google Drive folder: TITLE / s08-e003 /
Main program file: s08e003_TITLE.mp4
ISO files: s08e003_TITLE_cameraA.mp4, s08e003_TITLE_cameraB.mp4
Riverside edited export: s08e003_TITLE_riverside_edit.mp4
Cast Magic entry: s08e003— “Topic — 2025-09-25”
Use meta tags and descriptions inside each tool (when available) to store episode notes, guest names, and short promotional copy. That way, someone on your team can pick up the task without asking clarifying questions.
Pros, cons, and pitfalls — what to watch for
Pros
Massive time savings once you have a repeatable system.
Low barrier to entry — you don’t need a high-end editor or a huge budget.
Scales with a small team — once naming and prompts are standardized, an assistant can handle most of the workflow.
Consistent repurposing increases content reach and SEO over time.
Cons and pitfalls
ISOs take storage space. Ensure your storage plan and internet upload speed can handle large files.
AI outputs often need human polish. Don’t blindly publish without a quick review.
Tool overlap can be expensive. Audit your subscriptions — many platforms now have similar features.
Automated clip-scorers are not always right. Use your own judgment; AI “viral prediction” is speculative.
Common mistakes people make
Uploading the decorated program instead of clean ISOs to your clipping tools (results get overlaid with graphics and are hard to crop).
Not using prompts. Auto-clipping with no context yields generic results.
Inconsistent naming conventions, which create chaos when scaling or delegating.
Expecting every clip to be viral — the role of these tools is consistent reach, not guaranteed virality.
FAQ (frequently asked questions)
Do I need a Mac to run this workflow?
No — but Ecamm Live (my streaming tool) is Mac-only. If you use a PC, you can adapt the workflow with other streaming tools that can record ISOs (e.g., OBS with multiple recordings or Restream now also does individual recording for audio & video). The core idea — record ISOs, edit lightly, run text-based repurposing, and auto-clip — holds regardless of OS.
How much storage do I need for ISOs?
It depends on your resolution and codec. A 60-minute ISO at 1080p H.264 can be several gigabytes per camera. I recommend an external SSD and a cloud backup solution (Google Drive, Dropbox, or S3) and keeping at least the last 6–12 months of ISOs accessible. Archive older ISOs offline if needed.
Can I do this without paying for Castmagic or Minvo?
Yes, but with tradeoffs. You can use Riverside for light editing and its show notes generator, combined with manual copying to create newsletters and social posts. However, Castmagic automates the text repurposing and saves significant time; Minvo/Opus automates clipping. If you’re bootstrapping, start with Riverside + manual repurposing, then add Castmagic and Minvo as you scale.
How do I write prompts that actually work?
Be specific: tell the AI the audience, the output format, the tone, and any constraints (length, CTA). Provide examples when possible. For clip generation, tell the AI what defines a “good clip” for your brand (hook, takeaway, example). Train your prompts by refining them with feedback — keep a “prompt library” to reuse.
How much time will this save?
From my experience, a 60–90 minute show that used to take 3–6 hours of manual work can be turned into a publishable package in under an hour of active work plus some background AI processing. Results will vary depending on internet speed, number of ISOs, and how polished you want each clip.
Are the AI tools accurate with transcripts and chapters?
Generally yes, but transcripts from AI can have errors. Always review chapters, timestamps, and show notes before publishing. Use the tools for first drafts and speed, not as the final authority without oversight.
What if I want more advanced editing later?
Keep the ISOs. They are perfect sources for an editor using Premiere or DaVinci Resolve. If you ever want a premium edit, you or a hired editor will have clean camera footage to create a high-end episode. The stack I describe handles the frequent repurposing and saves high-effort edits for occasional flagship episodes.
Additional tips I learned the hard way
Don’t buy every new tool. Audit what you already have — many platforms add overlapping features rapidly.
Make prompts reusable. Keep a single document with your best Cast Magic and Minvo prompts.
Teach a virtual assistant the naming convention and workflow. You’ll save more time than you spend training.
Use PodPage or a similar site as your canonical content home. Control your content and reduce platform dependence.
Be intentional about your CTA on every repurposed asset (newsletter signup, free guide, or project call).
Wrapping it up
Visibility isn’t about going viral once; it’s about consistently delivering value where your audience spends time. For coaches and service providers, your content is your product. The workflow I laid out lets you keep the product fresh without getting buried in production tasks. Use Riverside for fast light edits, Cast Magic to transform your words into publishable written content, and Minvo/Opus to generate shareable clips. Couple that with a strict naming convention and you have a machine that turns one live conversation into a week (or more) of meaningful content.
If you want templates, prompt libraries, or a guided workshop where I walk you through this stack step-by-step, head to StreamLikeABoss.tv and sign up for my email list — I announce live trainings, workshops, and templates there first.
Keep streaming, keep shining — and systemize your repurposing so your expertise gets seen without costing you your life.
About Tanya
Tanya Smith is the CEO of Get Noticed with Video LLC and host of Stream Like a Boss® TV, where she helps podcasters and livestream creators turn crickets into clients—without chasing algorithms or losing their authentic voice. Through practical strategies and proven workflows, Tanya empowers creators to grow their audience, build authority, and monetize their message with confidence.
🎯 Want to know your unique livestream personality type? Take the free quiz now: streamlikeaboss.tv/quiz


