Welcome to your go-to guide on mastering live streaming on Substack! If you’re looking to deepen your connection with your audience, going live on Substack can be a great skillset to have! Live streaming bridges the gap between content and community, providing authentic, real-time engagement that builds trust and credibility.
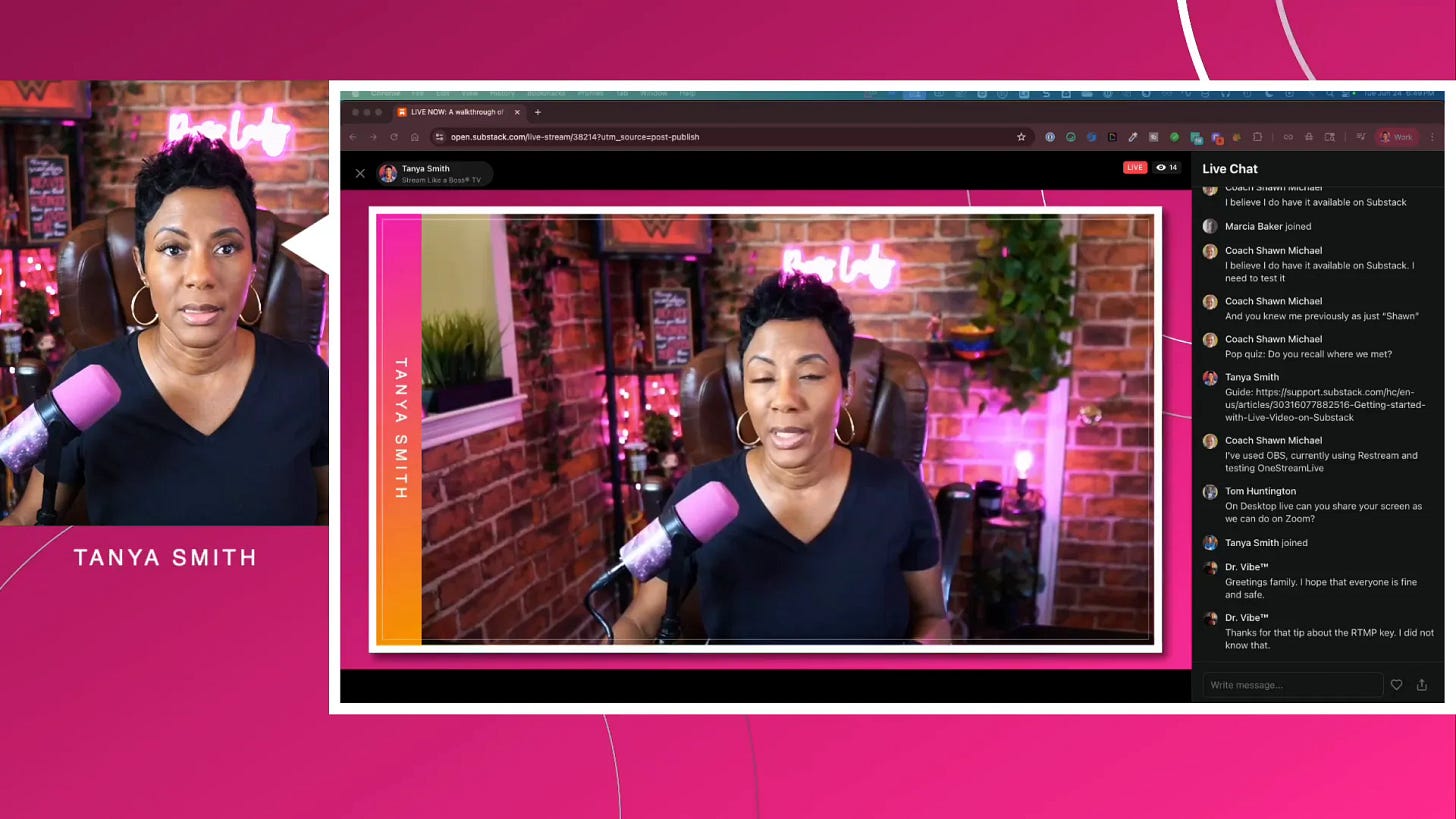
Thank you James Hicks, Dewi Maile Lim, Coach Shawn Michael, Tonia Fisher, Marcia Baker, and many others for tuning into my live video! Join me for my next live video in the app.
In this detailed walkthrough, I’ll share everything you need to know—from setting up your live stream on mobile devices to navigating desktop broadcasting software. Plus, I’ll offer strategic nuggets and tech tips to help you show up like a pro, no matter your experience level.
Why Live Streaming Matters
Let’s start with the big picture. Live streaming isn’t just a flashy tech trend—it’s a powerful way to foster human connection in a digital world that’s increasingly automated and AI-driven. As much as I love AI for creating content, it can’t replace the authenticity and trust that live, unfiltered conversations build.
For business owners, coaches, and consultants, live streaming on platforms like Substack offers a unique opportunity to:
Connect authentically: Real-time interaction allows you to engage with your audience on a personal level.
Convert leads: Live streams create a sense of urgency and exclusivity that can boost conversions.
Build community: Your viewers become participants, not just passive consumers.
In short, live streaming is all about creating trust and credibility—key foundations for any successful coaching or consulting business.
Going Live on Substack Mobile: Step-by-Step
Many creators and entrepreneurs are still going live using their mobile devices, and Substack supports this well—provided you meet a few prerequisites. Here’s what you need to know to get started with mobile live streaming on Substack.
1. Make Sure You Have the Substack App and Enough Subscribers
First up, download the Substack app on your iPhone or Android device. The app is your gateway to creating live streams on the go.
Next, you need at least 10 subscribers to unlock live streaming capabilities on the app. This subscriber count requirement helps ensure you have a minimum audience to engage with your content. So, rally your friends, family, or network to sign up and help you reach this milestone.
2. Request Live Streaming Access
Once you hit 10 subscribers, you’ll need to request access for live streaming through Substack support. The good news? This process is usually quick—often under 20 minutes for approval.
3. Creating Your Live Stream
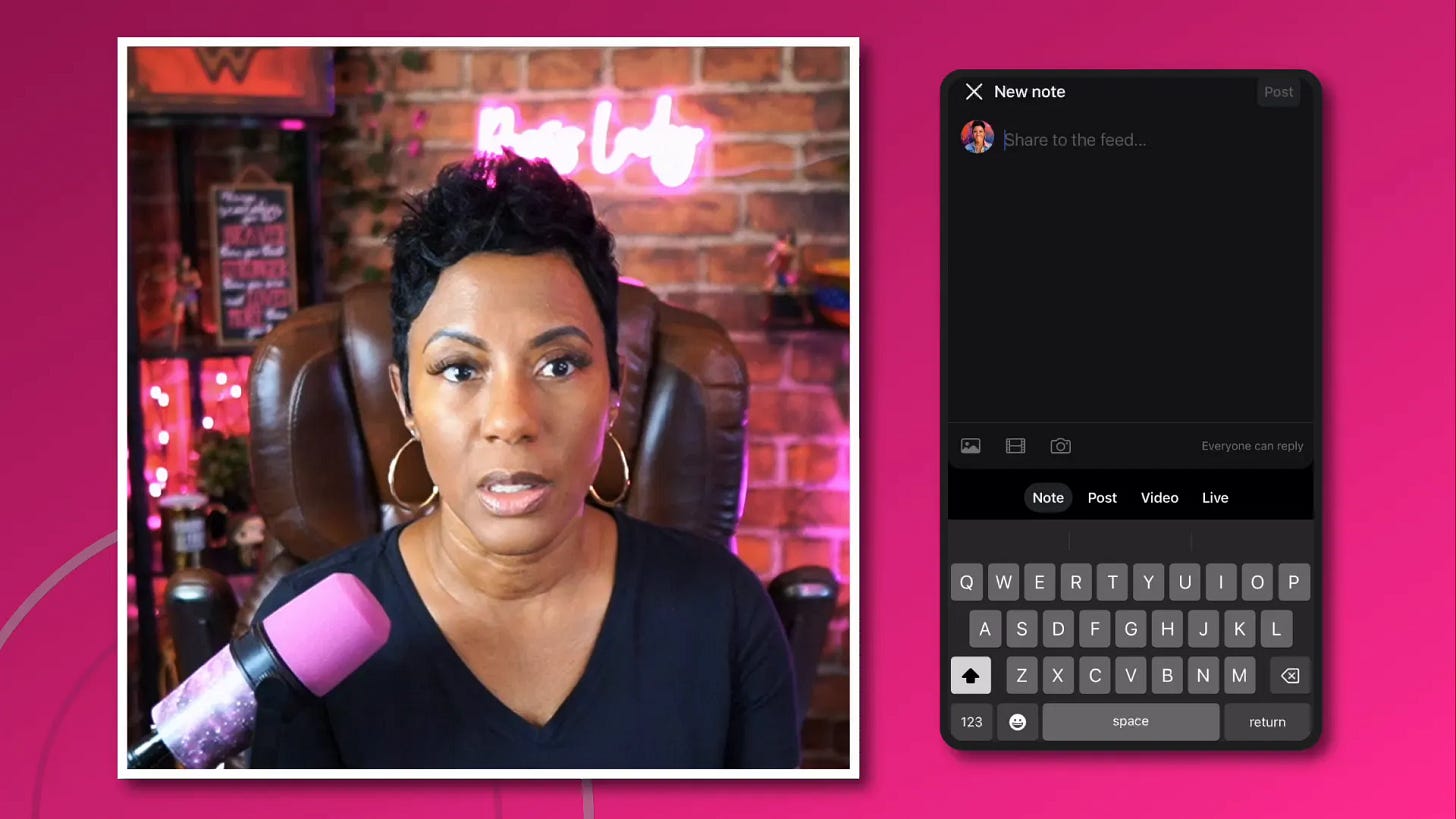
Open the app and tap the orange plus sign in the bottom right corner. Here, you’ll see options to create a note, post, video, or live stream. Select Live.
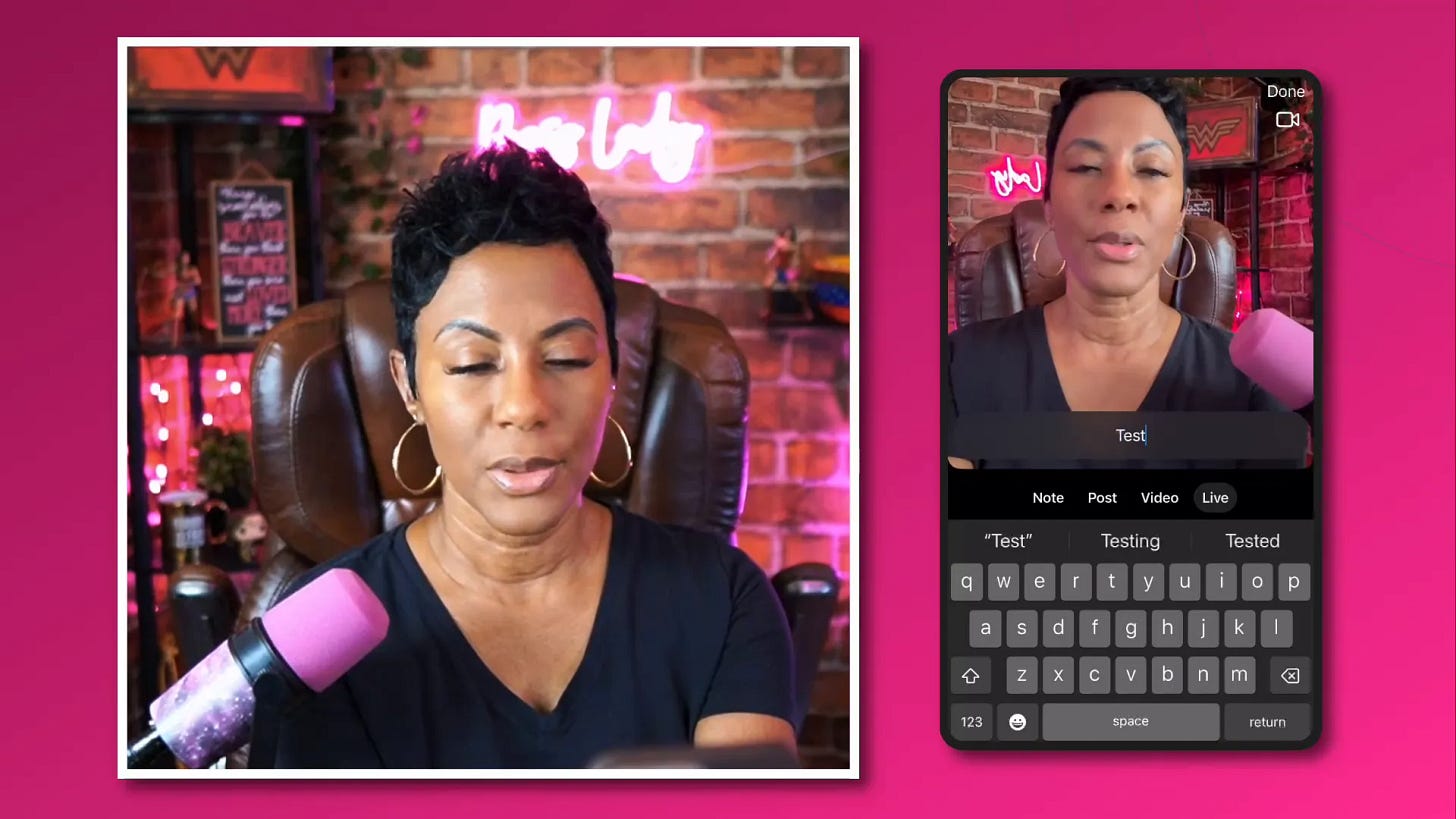
Enter your live stream title. This is critical since the Substack mobile app doesn’t offer much room for description, so make your title clear and compelling. For example, instead of “Going live,” use “How to Go Live on Substack: Step-by-Step Tutorial.”
4. Choose Your Audience
Substack gives you three audience options when going live:
Everyone: Your live stream is public.
Subscribers only: Restricted to all subscribers, free or paid.
Paid subscribers only: Exclusive content for your paying community.
This segmentation is powerful for coaches and consultants who want to deliver premium content to paying clients.
5. Schedule or Go Live Immediately - Your Choice
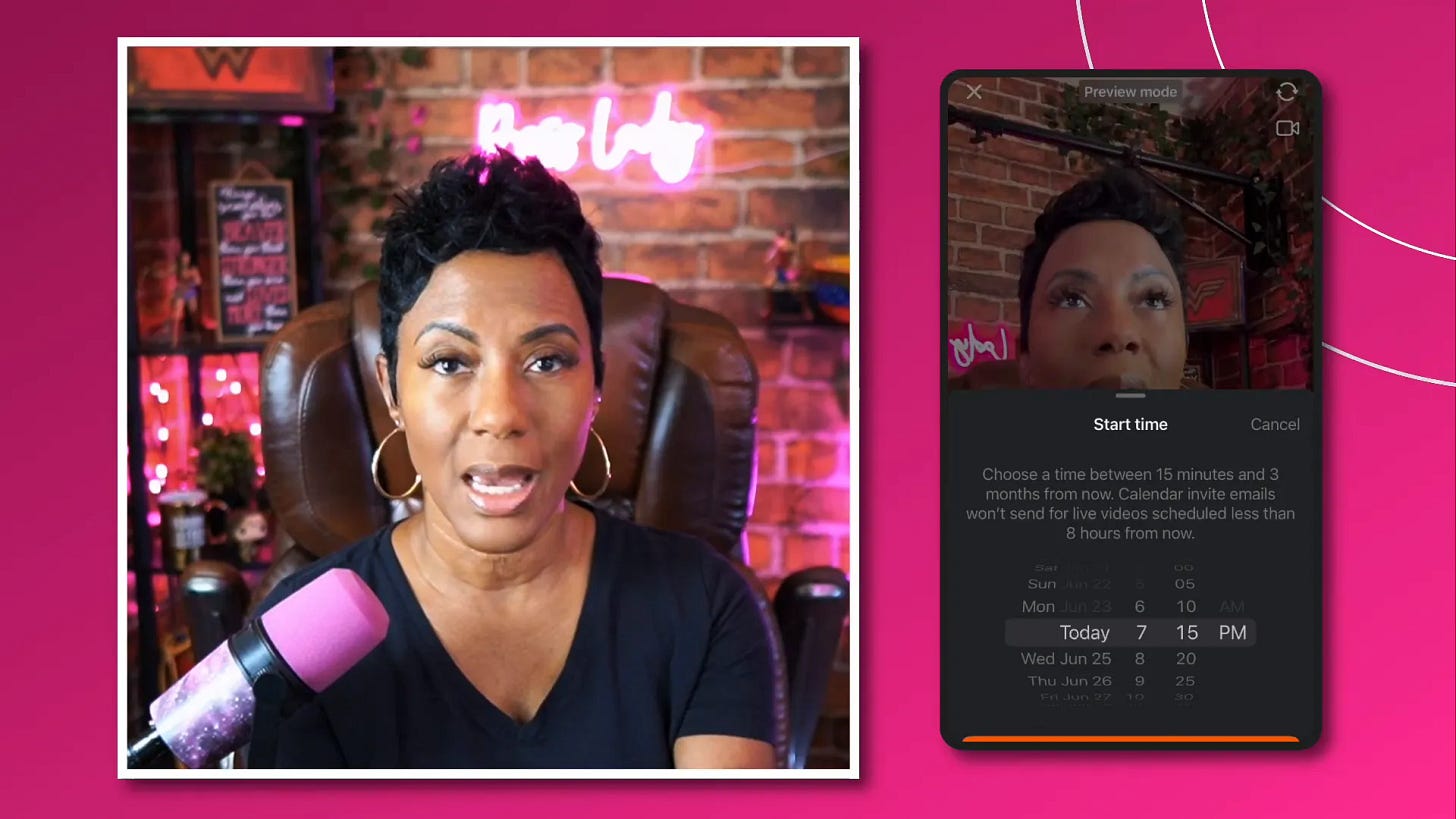
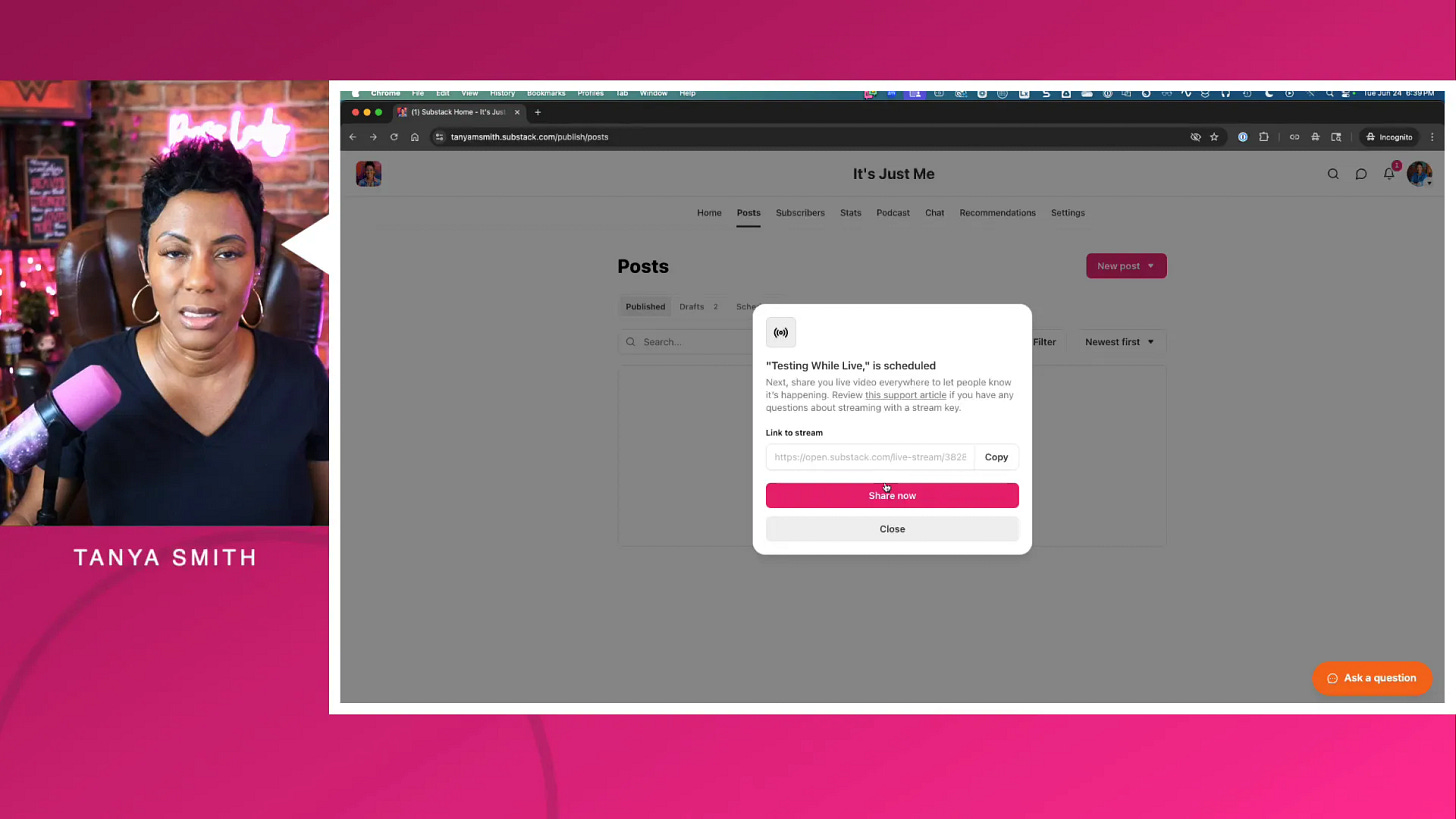
You can either start your live stream immediately or schedule it for a future date and time. Scheduling creates a dedicated post on your Substack feed with a shareable link. Use this link to promote your live stream on other platforms, adding a thumbnail and context to tell people why they should join.
6. Email Notifications: Use With Care
Substack gives you the option to send an email notification when your live stream starts. While this can boost attendance, be cautious. Too many emails can annoy your subscribers and lead to unsubscribes. Test and gauge your audience’s preferences to strike the right balance.
7. Monitor Your Live Stream
Once live, keep an eye on your chat and comments. If you have multiple devices, use one to monitor engagement so you can acknowledge participants in real time. This is key to building community and enhancing viewer experience.
For those interested in displaying live comments on stream, I have a workaround using third-party apps that I can share in a future post if there’s interest.
Going Live on Substack Desktop: What You Need to Know
Going live on desktop is a bit more complex than mobile but offers greater flexibility and professional polish—perfect if you’re ready to scale your live streaming efforts.
1. Request Desktop Live Streaming Access
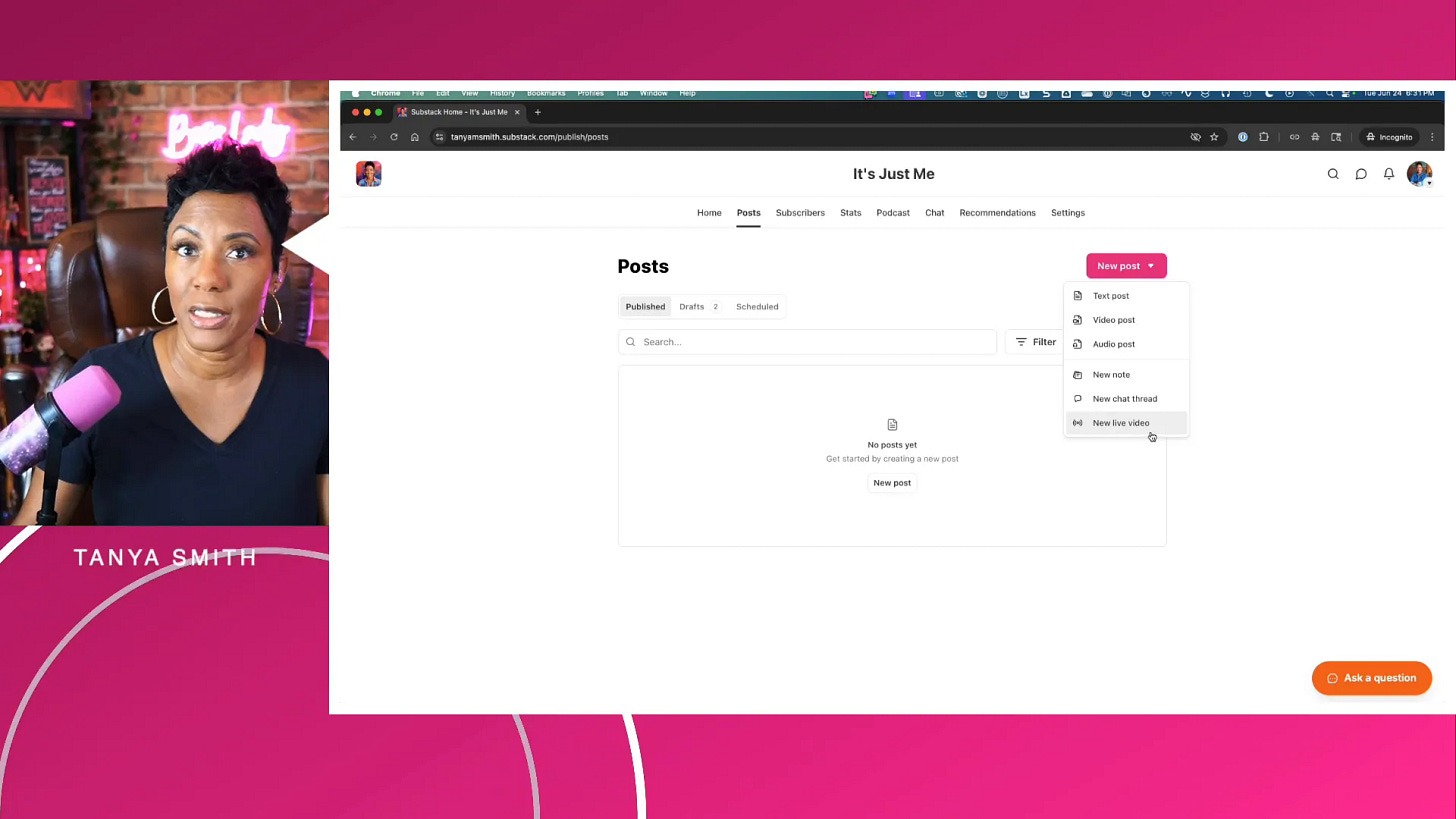
Similar to mobile, you must request access from Substack support to livestream from your desktop dashboard. Once approved, you’ll see a “New Live Video” option when creating a new post.
2. Navigating the Desktop Live Stream Setup
After selecting “New Live Video,” you’ll be prompted to enter a title and choose your audience (everyone, subscribers only, or paid subscribers if enabled).
One key difference from mobile: some accounts may not show the paid subscribers-only option if that feature isn’t enabled on your Substack.
3. Scheduling and Stream Keys
You can schedule live streams in advance, setting date and time. After scheduling, Substack generates a server URL and a stream key, which you will use in your broadcasting software to connect your live stream.
Important: Some users have reported that stream keys may not appear immediately upon scheduling but can be found by clicking “View Keys” in the scheduled post. Always double-check to ensure you have your stream key before going live.
4. Protect Your Stream Keys
Your stream key is like a password to your live stream. Never share it publicly or in screenshots, as it allows anyone to broadcast on your behalf. Keep it secure to avoid unauthorized access.
5. Monitor Your Live Stream and Chat
Just like mobile, monitoring your chat is essential. If possible, use multiple monitors or additional devices like an iPad or phone to keep the chat visible while streaming. This way, you can engage with your audience promptly and authentically.
Using Third-Party Streaming Tools with Substack
Substack does not have a built-in desktop live streaming app, so you’ll need third-party broadcasting software to go live from your computer. Popular options include:
Ecamm Live, StreamYard, Restream.io, OBS Studio (free) and more
These tools let you customize your stream with overlays, multiple cameras, guest interviews, and more, elevating the professionalism of your live broadcasts.
Connecting Your Broadcasting Software to Substack
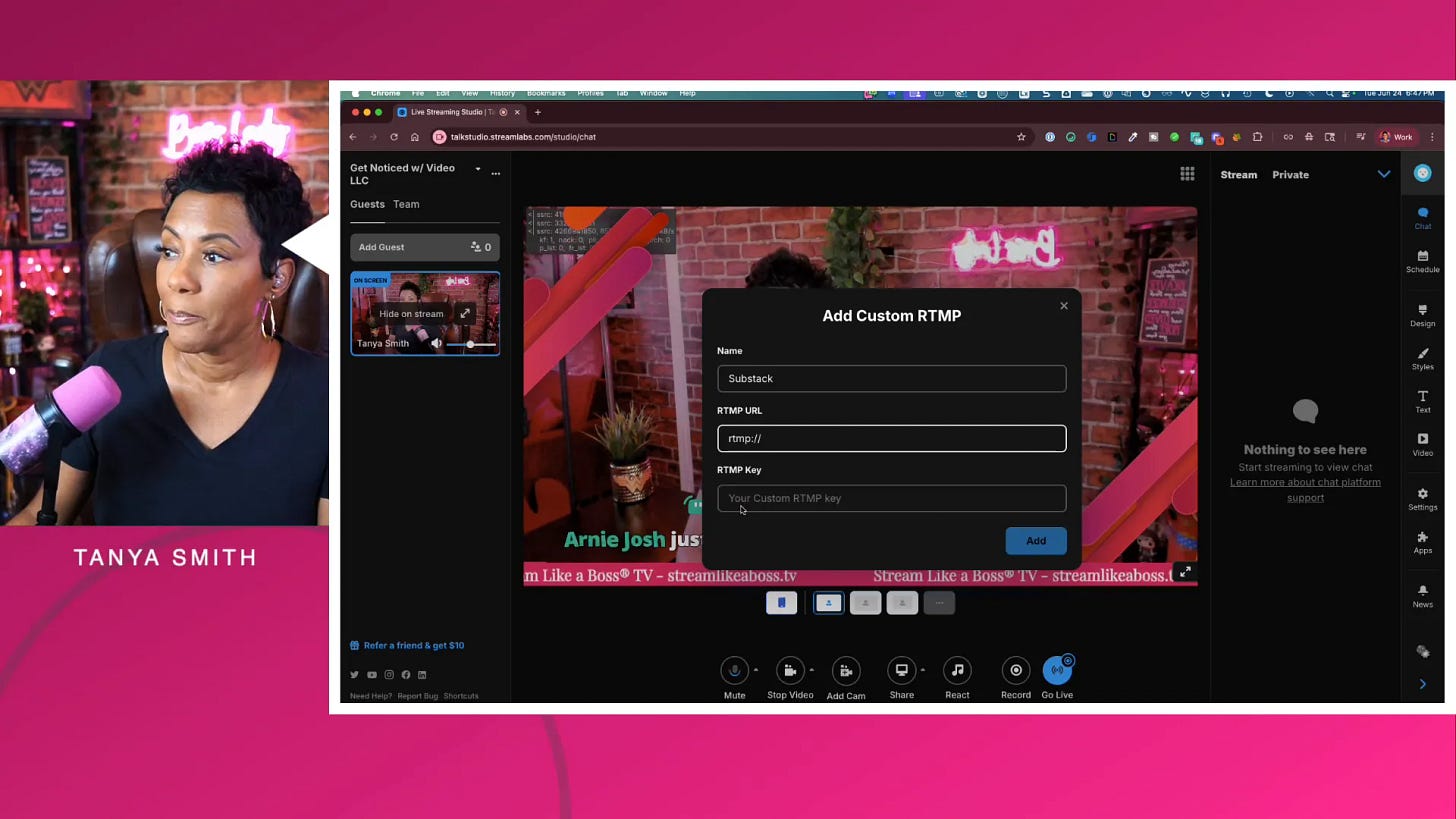
To stream to Substack, you’ll need to input the RTMP server URL and stream key from Substack into your broadcasting software’s custom RTMP settings.
You add a new destination, select “Custom RTMP,” and paste the server URL and stream key provided by Substack.
Important Note on Stream Keys
Currently, Substack’s stream keys are not persistent. This means the stream key changes with every scheduled live stream. Every time you schedule a new live event, you must update your broadcasting software with the new stream key. The server URL typically remains the same.
This is a critical step—if you don’t update your stream key, your broadcast won’t connect to Substack.
Essential Tips About Stream Keys and Monitoring Your Broadcast
Here are some practical tips to keep your live streaming smooth and professional:
Test your internet and computer resources: Streaming to multiple platforms simultaneously requires strong internet and a powerful computer. Avoid older machines that might struggle.
Check for stream key availability: Always verify that you can access your stream key well before your scheduled live stream.
Monitor your stream on a separate device or monitor: Use a second screen, tablet, or phone to watch your live broadcast and chat in real time. This helps you catch issues and engage with viewers.
Be mindful of delay: There is usually a slight delay (several seconds to a minute) between your live broadcast and what viewers see on Substack. Give your viewers time to respond before moving on.
Schedule your stream connection time wisely: Avoid connecting to your streaming software too early. A few minutes before your stream start time is ideal to prevent accidental early broadcasts.
What Happens After Your Live Stream Ends?
When your live stream concludes, Substack automatically saves the broadcast as a draft post rather than publishing it immediately. This is a crucial part of your content strategy:
You can edit the draft, add a custom thumbnail, and tweak the post content for consistency and branding.
Substack generates video clips and images from your live stream, which you can use for repurposing on social media or other platforms.
You have full control over who sees the post (everyone, subscribers only, or paid subscribers).
You can choose to publish the full video as a post or keep it private for later use.
Substack also offers the option to auto-upload your videos and clips to YouTube, which is great for expanding your reach.
One key strategic recommendation: Always store your original live stream video files locally or in your own cloud storage. This ensures you remain platform-independent and retain ownership of your content in case of platform changes or issues.
Mini Action Plan: 3 Steps to Get Started
If you’re ready to jump into live streaming on Substack, here’s a simple plan to get you going:
Build Your Subscriber Base: Aim for at least 10 subscribers on your Substack. Invite friends, family, and your network to subscribe so you can unlock live streaming features.
Request Live Streaming Access: Submit a request to Substack support for live streaming permissions on both mobile and desktop. Expect a quick turnaround.
Choose Your Streaming Setup: Decide if you want to stream from your mobile device using the Substack app or from your desktop using third-party software like Ecamm Live or StreamYard. Set up your stream keys and test your connection ahead of time.
Bonus tip: Schedule your live streams in advance and create promotional posts with clear, benefit-driven titles and thumbnails to maximize attendance.
Final Thoughts and Next Steps
Live streaming on Substack is a fantastic way to connect authentically with your audience, build trust, and grow your business. While the technology and setup can feel overwhelming at first, breaking it down into manageable steps and testing your workflow will get you comfortable quickly.
Remember to monitor your chats actively and think strategically about your content strategy. The goal is to create an engaging experience that your audience looks forward to.
If you’re ready to take your live streaming to the next level, consider experimenting with multiple destinations and third-party tools, but don’t forget to master one platform first.
Feel free to drop a 🔥 emoji in the comments if this guide helped you, and don’t forget to subscribe for more tips on streaming and audience engagement.


